...
Home
After logging in, you will get the screen as shown in Figure 5. On your home page, you can perform the following functions:based on whether you have access to one ION or multiple IONs.
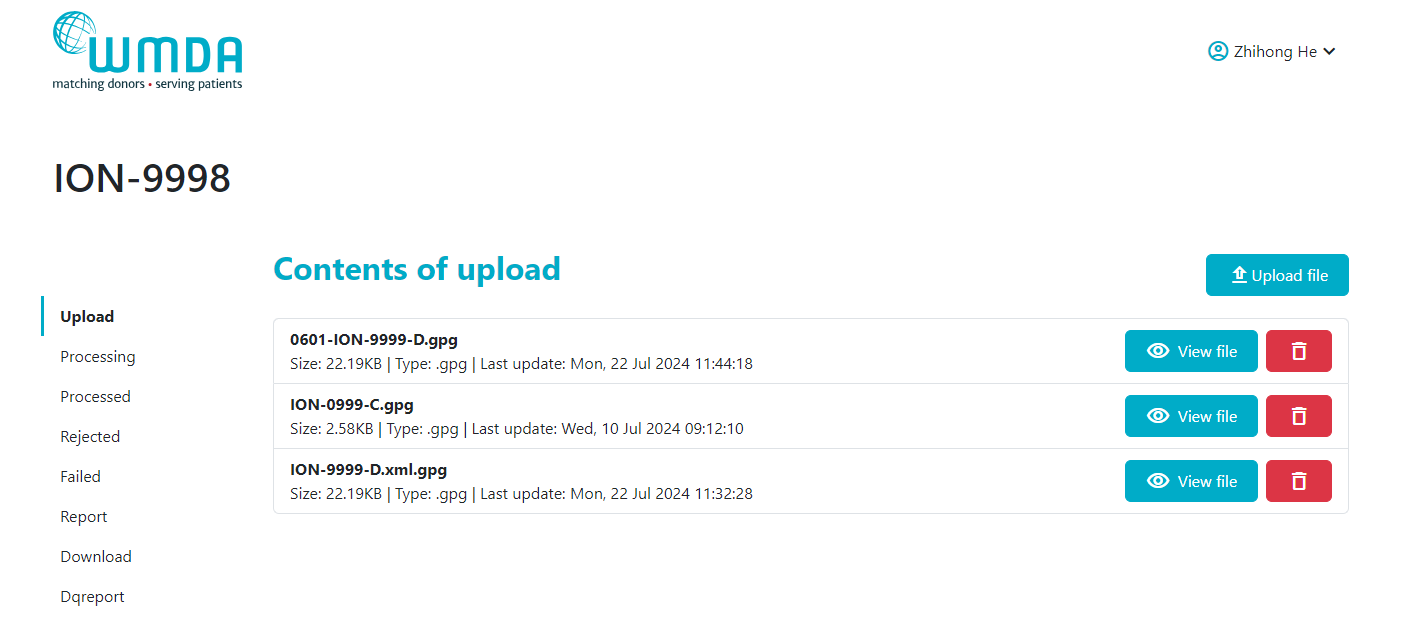
If you have access to only one ION, then you will be redirect to your Workspace folders directly as show in Figure
| Imagefloat | ||
|---|---|---|
| ||
If you have access to multiple IONs, then you will be redirect to a home page as show in Figure
| Imagefloat | ||
|---|---|---|
| ||
On your home page, you can see information as below:
- Your name: On the top left corner. This is the name of the user that logged into the system
- Notification indicator: This is the bell that will highlight if you have any new notifications around the status of your uploaded file
- Setting button : This is the menu for functions like - Logout and Updating account details
- Search box: Useful when trying to find files, for example using a specific date
- My Workspace: Your own Workspace named with the ION of your organisation. In conjunction with your Workspace you also see two separate folders called Archives and Reports. For further details on the purpose of these folders please see section around Archive/Reports.
- Recent history of submissions in the middle main pane
...
If you wish to upload a new PGP/GPG encrypted XML file into your Workspace to be processed, please follow the next steps:
- Click on the Workspace Upload folder of your organisation/correct ION.
- Within the Workspace Upload folder click on the red tab with 'New' and then on the 'Upload' icon at the bottom of the drop-down menu (Figure 7). icon "Upload file" at right upper corner in the file list area. And a window to guide to upload a file will pop-up (Figure 7).
- Option to select a file:
1). Click on button "Pick file" and a browser window will open and you can select the file on your computer.
2). You can also select a file by dragging and dropping the file in the proper area. - After a file is selected, then the selected file will be listed, and the "Upload" button will become available. A new screen will open where you can select your file for upload (Figure 8a).
- Click on the red button with 'Pick File'.
- Confirm the file selected is the correct file based on the name.
- Click on button UploadA browser window will open and you can select the file on your computer you would like to upload. Click on Open.
- The file then uploaded and becomes then visible in the file list area in the browser window and when it is the correct file, click on OK to upload the file to your Workspace.Upload folder. If the file is big, it may take some time to upload.
After a file is uploaded completed to the Upload folder, then it can be picked up. After the An alternative method to upload your file to your Workspace is by dragging your file from your desktop to the main middle pane of your Workspace
...
| Imagefloat | ||
|---|---|---|
| ||
| Imagefloat | ||
|---|---|---|
| ||
You are only allowed to upload files that are encrypted. If you try and upload files that are non PgP/GpG encrypted the system will give you an upload error as shown in figure 8b.
...
PLEASE NOTE: Once the file has been added to the processing pipeline service the file will then be moved to the Processing folder. As a user you only have read access to all other folders except Upload folder.
Processing folder
This folder contains the files are picked up for processing.
Processed folder
This folder contains all the files are processed and accepted by the Data Manager Service.
Rejected folder
Archive folder
This folder contains all of the files that have moved to the pipeline for processing. There is a 10 minutes lag before a file that's been uploaded onto your workspace is picked by the pipeline for processing. Files in the Archive folder can't be deleted. You only have read access to the Archive folder. The file name is changed to indicate the date/time the file was placed in this folder for processing.
...


