Multi-Factor Authentication (MFA) is a method which is used to strengthen the security of a file, website, etc, and adds extra protection to the sign in process.
It is an authentication method which allows the user access to a website/application once the user has provided the two (or more) pieces of information to verify identity;
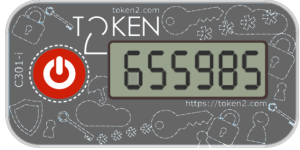
Valid authentication methods for WMDA services are passwords, authentication applications and hardware tokens.
This document is a guide to aid users to set up the required security verification methods to access the Search & Match Service.
Initial setup:
| Step | Description | Image |
|---|---|---|
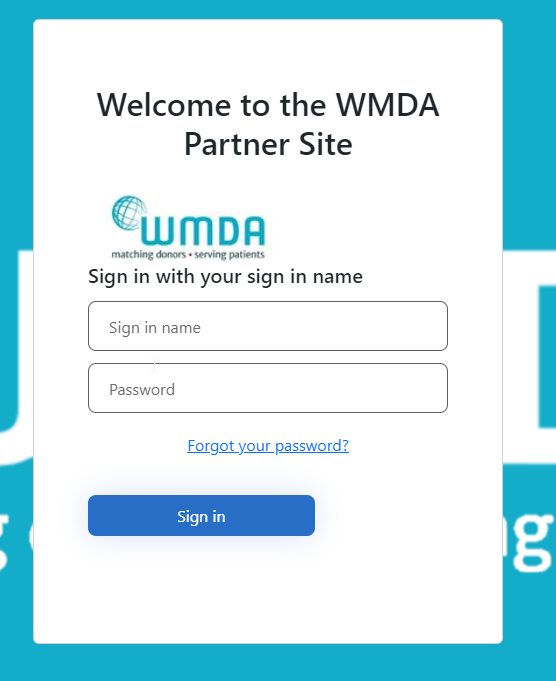
| 1 | Please go to this web page. You can also go to https://portal.wmda.info/ and click on: "Login" followed by "Forgot your password?" | |
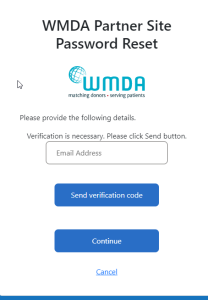
| 2 | Follow the steps to verify your e-mail address and set up your initial password. | |
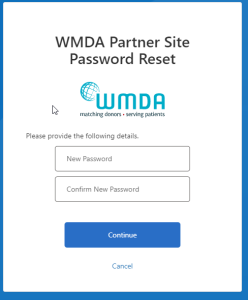
| 3 | Enter a new password in the upper text box and confirm it in the lower text box | |
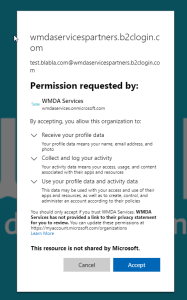
| 4 | Please read the content and click "Accept" on the screen below. | |
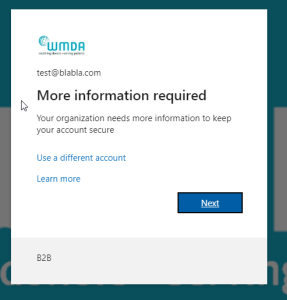
| 5 | Now, you will need to set up “Multi Factor Authentication”. Click Next. | Search & Match Front end |
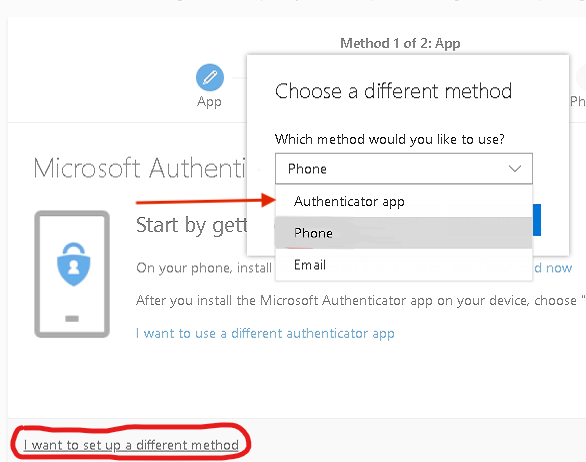
| 6 | Choose your MFA method. You may choose
|
|
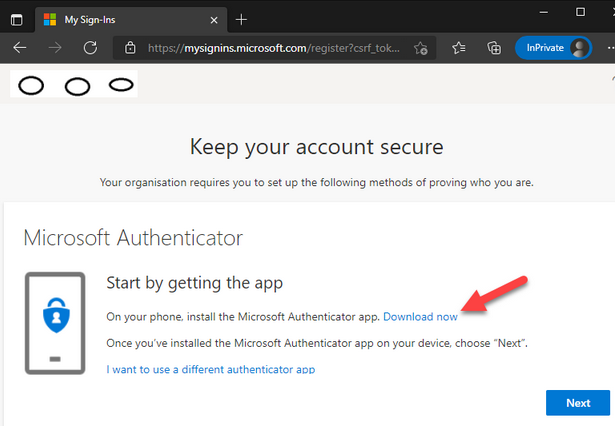
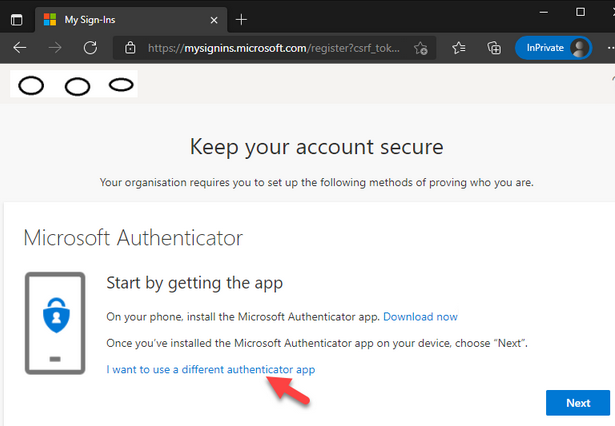
| 7 | Proceed with setting up your second factor method: If you want to use Microsoft authenticator : If you want to use another authentication app click the "I want to use a different authenticator app",
Any authenticator app that is TOTP compliant will be valid to generate codes. Some well known are Google Authenticator, Authy, Aegis
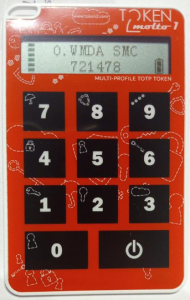
If you want to use a programmable TOTP token, click the "I want to use a different authenticator app"
If you want to use a software based TOTP token on your desktop, click the "I want to use a different authenticator app"
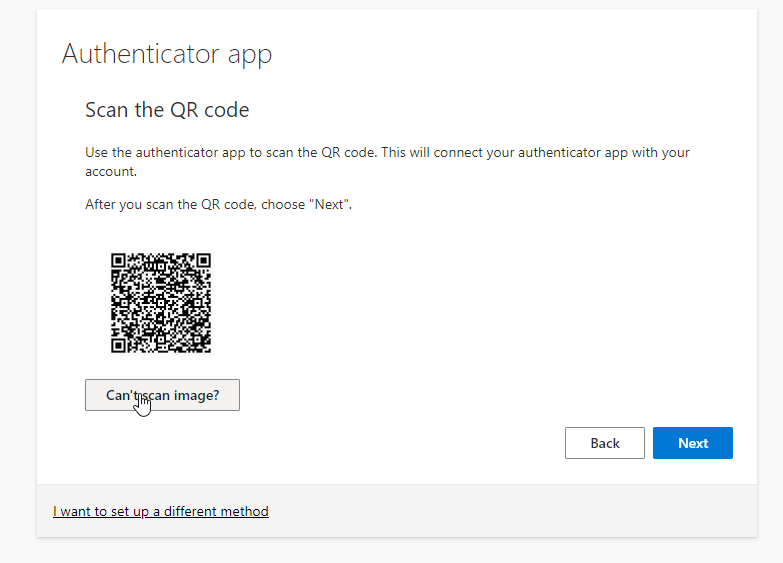
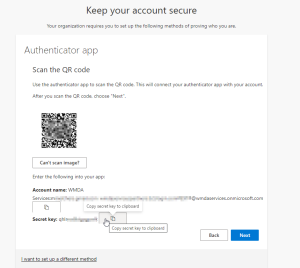
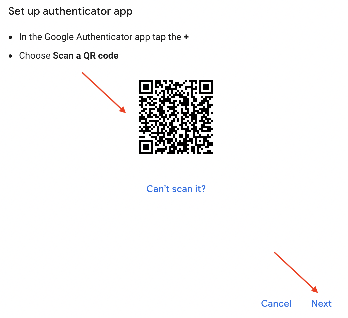
You will then see a QR code. If your software is able to scan it, then do that. If not, then click "Can't scan image?" You are then able to see the account name and the secret key. Copy the secret key to your desktop application. | |
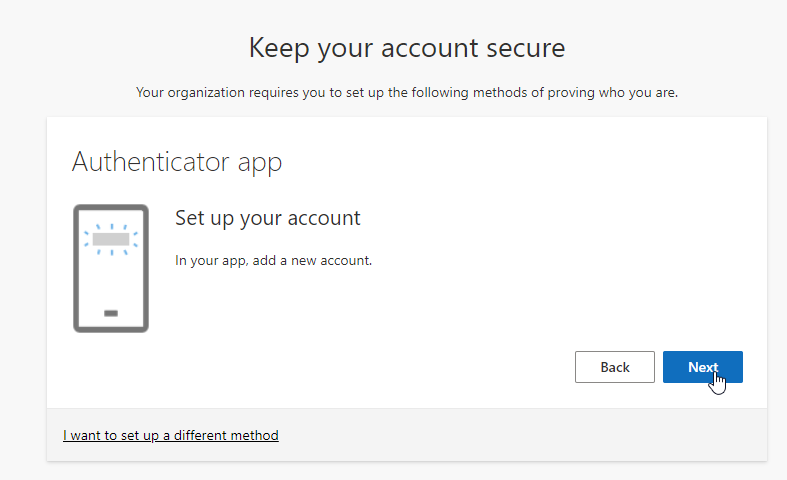
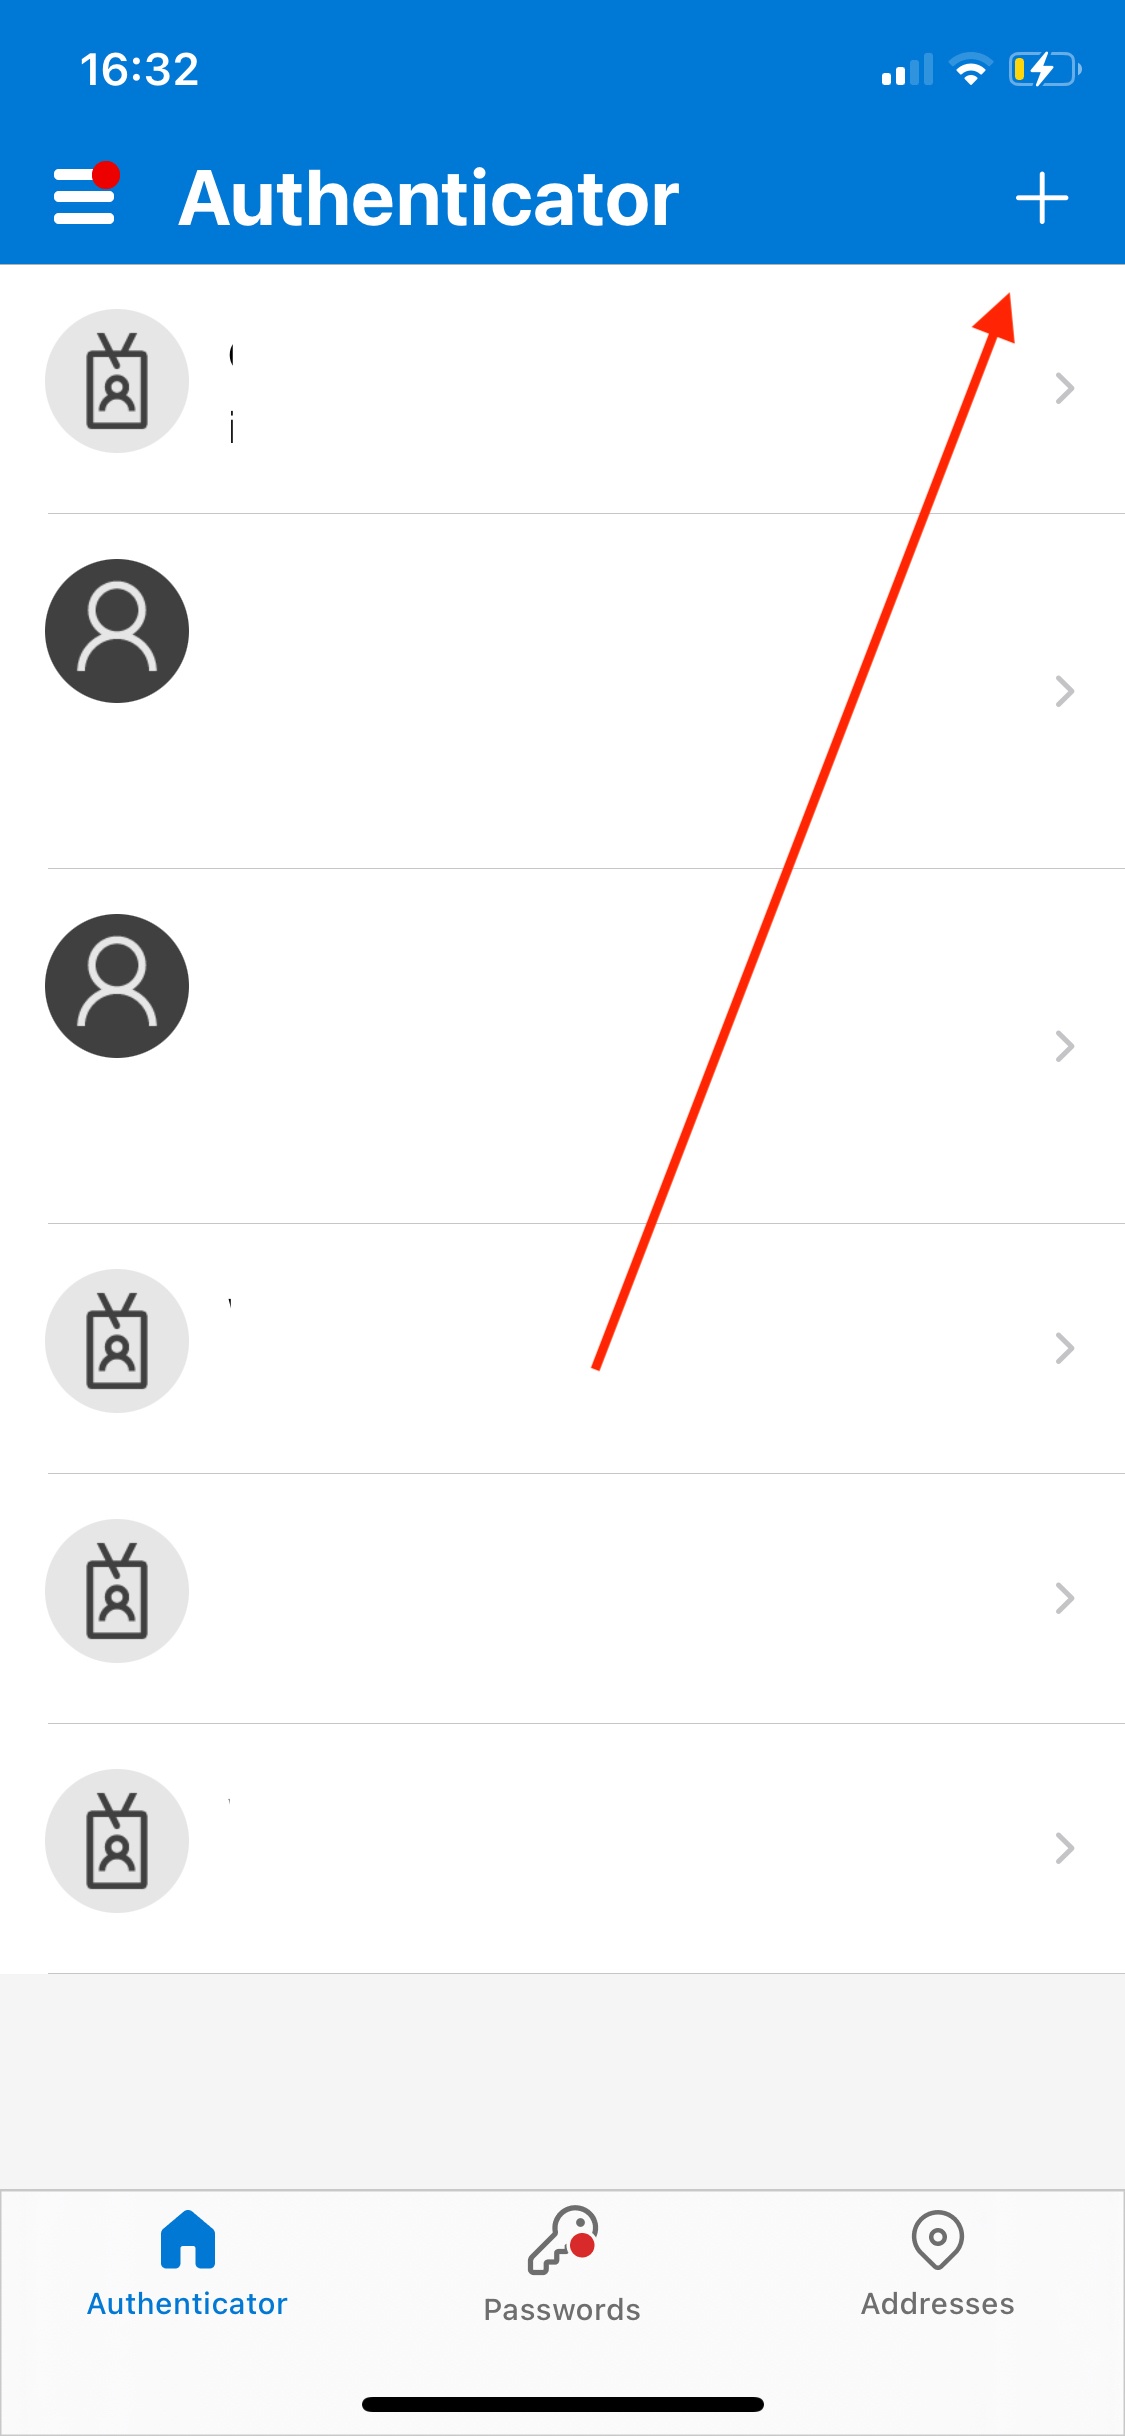
| 8 | Continue set up: Open the Microsoft Authenticator app and follow the instructions given. Firstly click the "+" symbol to add the account and choose the "Work or school account" option, then choose the "Scan QR code" option.
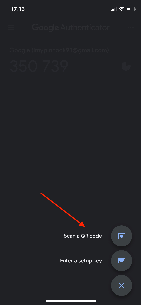
The app will then access your camera, allowing the user to scan the QR code displayed on the webpage on the computer (it is displayed once the user clicks "Next" on the webpage). Now the authenticator has been set up, head back to the webpage on the computer for the final confirmation. Example : Google Authenticator Download the Google Authenticator app and open it up; click the multicoloured "+" and select "Scan a QR code".
The app will now ask for access to the phones camera to scan the QR code displayed on the webpage. Hardware tokens will need to be set up, either using NFC or USB.
| |
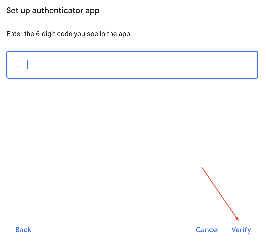
| 9 | Check if the authenticator works To ensure the MFA was set up correctly, the system will ask the user to verify the the authenticator with a verification code, which is displayed on the next page of the app. Once all complete, you should be brought back to the original home page, and it should show your email in the top right. | |
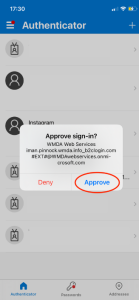
| 10 | Logging in When logging in, after having set up the MFA, the user will be prompted to approve the login, either by entering the code from your authenticator, or tapping the "Approve" pop up in your application (when using Microsoft authenticator) The Microsoft Authenticator app will show a notification like the one below - | |

